Export your design
Pro
Download a design as PNG, JPG, PDF or PowerPoint, or with its layers for Photoshop, Illustrator, Figma and InDesign.
Press Export at the top right of the editor.
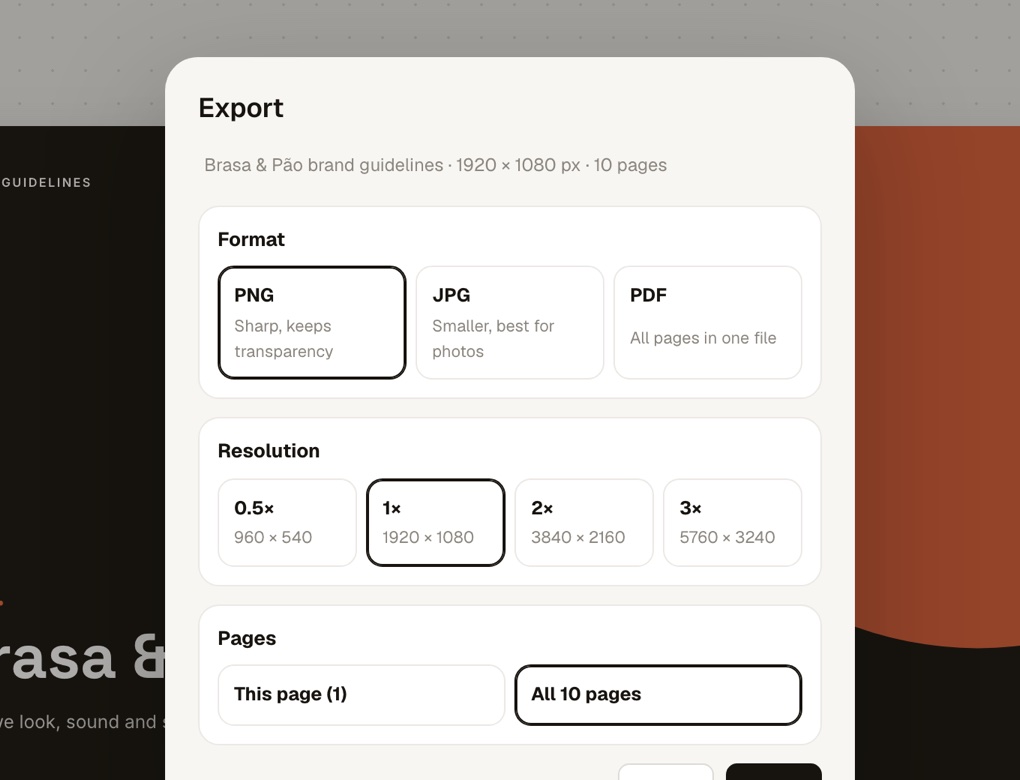
Choose a format#
| Format | Best for |
|---|---|
| PNG | Sharp results, and it keeps transparency |
| JPG | Smaller files, best for photos |
| All pages in one file | |
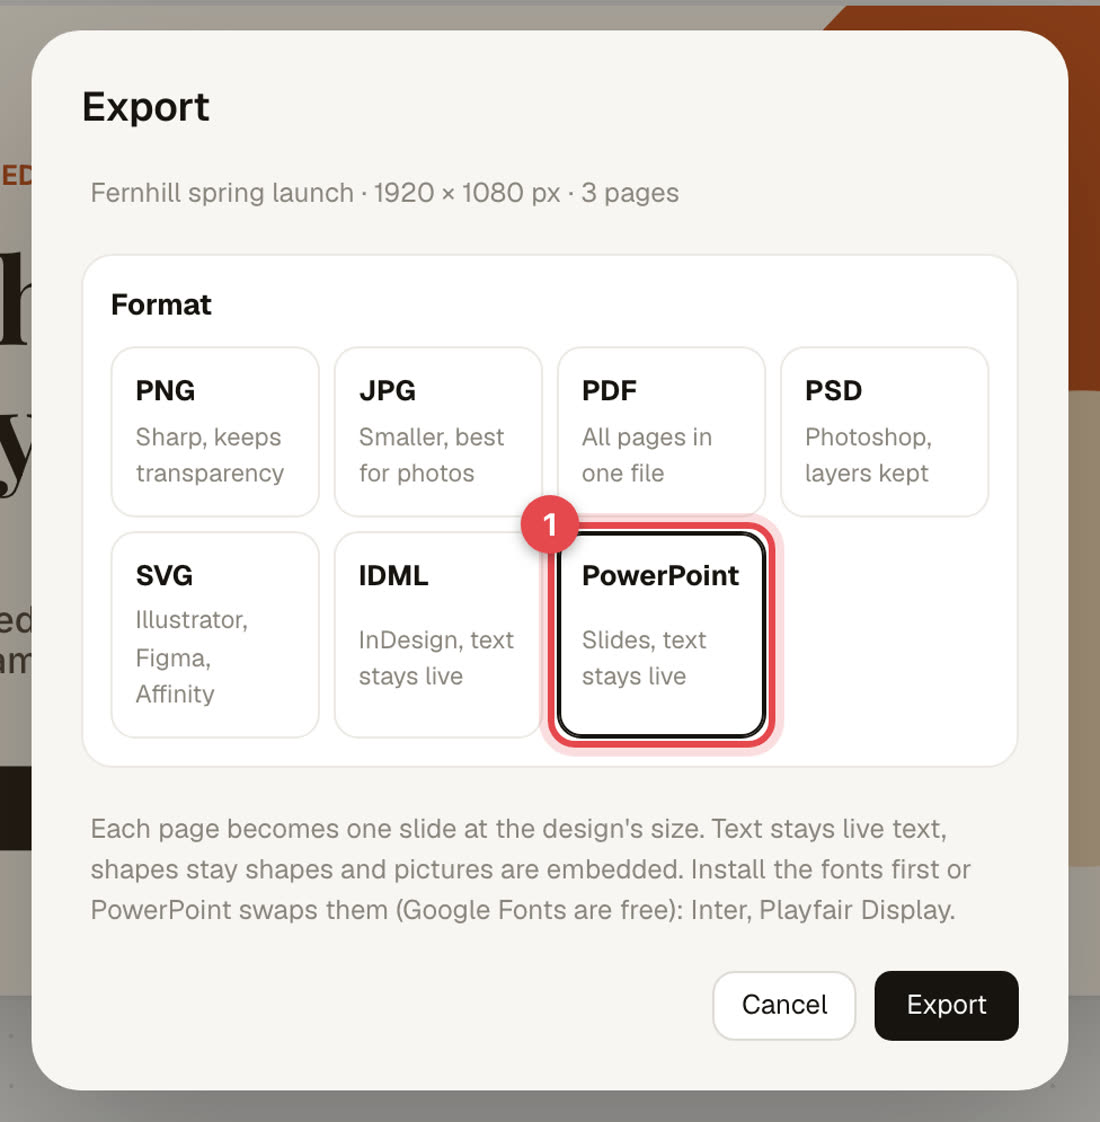
| PowerPoint | Slides you can edit in PowerPoint, Keynote or Google Slides. Text stays live text |
| PSD | Photoshop, with the layers kept |
| SVG | Illustrator, Figma and Affinity, one named group per layer |
| IDML | InDesign, with every layer as a frame and the text live |
For JPG and PDF you can also set the quality: smaller file or best quality.
Export to PowerPoint#
Choose PowerPoint and press Export. You get one .pptx file with every page as a slide, at the design's own size (a 1920 × 1080 design becomes a 16:9 slide).
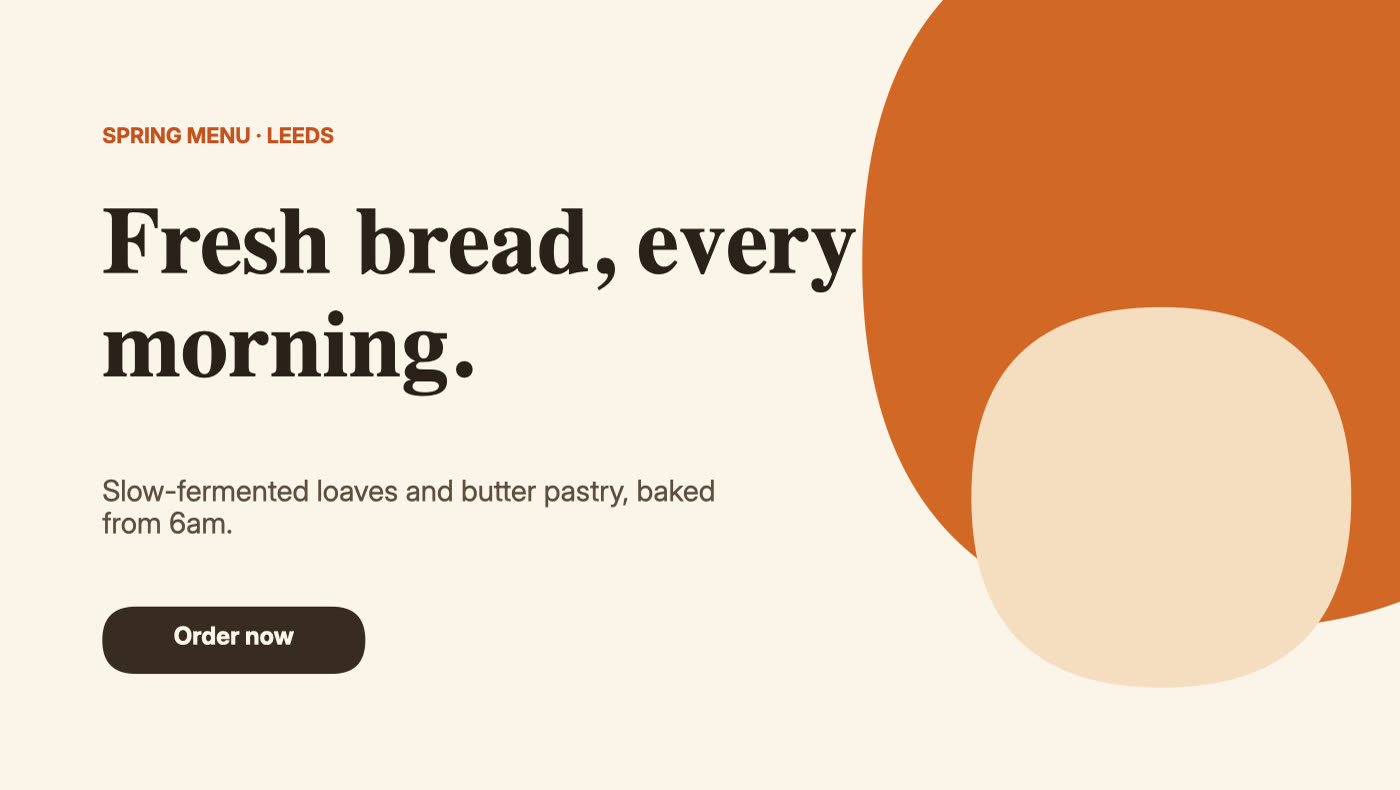
- Text stays live. Click a headline and change it. Font, size, weight, italic, capitals, spacing, alignment and colour carry over.
- Shapes stay shapes. Rectangles (with their rounded corners), circles, lines with arrowheads and polygons come across with their fills, gradients, outlines, opacity, turns and shadows.
- Pictures are embedded. They are cropped the way they are in Design Studio.
- Install the fonts first. PowerPoint can only use fonts that are on the computer. If a font is missing, it swaps in a lookalike and a line may wrap differently. The export box lists the fonts used. Google Fonts are free to install.
- Not carried over. Video designs, and a few effects such as blur, are simplified or left out.
Resolution#
Choose 0.5×, 1×, 2× or 3×. The box shows the exact pixel size of each, for example 1920 × 1080 at 1× and 3840 × 2160 at 2×.
Pages#
If your design has several pages, pick This page or All pages. A PDF always includes all pages.
What you see on the canvas is what you export.
Use it in a website#
Download the image and add it to a project, or attach it to the chat so the AI can use it. See Use images and Figma.
Share a design on Templates#
Under Your designs, press Share on a design (videos cannot be shared yet). The form fills itself in from your design (title, summary, category, tags and description), and you can change any of it or press Auto-fill from my design to start again. Below it you see small pictures of every page: pick up to five. The first one you pick is the cover and the others fill the gallery. Then press Share to Templates.
Your listing gets its own web address, made from its title (for example sitehaus.agency/explore/bakery-menu). In the form, change Web address to whatever you like (letters, numbers and dashes). Two listings cannot share an address, and the old link with the number still works.
Anyone with Design Studio finds it under Templates, Designs and can press Use this design. That puts a full copy in their own Design Studio, with its pictures saved as their own uploads, and opens it so they can edit every layer. Your original is never changed, and people who already added a copy keep it even if you later edit or remove your listing.
Edit or remove what you shared#
Open your listing in Templates and use Edit to change the title, summary, category, tags and description, to hide it from others, to Choose which pages to show again, or to Update it to the way my design looks in Design Studio now. Use Remove to take it off Templates. You can share up to 50 designs.